Showing posts with label Bread. Show all posts

September 5, 2014

STOLLEN


Stollen is a traditional German Christmas Bread.  This recipe does not require a "sponge" which makes it quick and easy. The original recipe is from King Arthur Flour's website, but I have adapted it.
Makes 2-1# loaves.

2-1/4 Cups flour
1/2 Cup sugar
1-1/2 tsp baking powder
1/2 tsp salt
1/2 Cup unsalted butter, melted 
1 Cup (8 oz) part skim Ricotta cheese
1 egg
1 tsp vanilla
2 tsp lemon zest
1 tsp lemon extract

1/2 cup golden raisins
1/4 cup glace' cherries, snipped into 1/2" pcs
1/4 cup dried apricots, snipped into 1/2" pcs
1/3 cup slivered almonds, toasted and cooled
6 oz Almond Paste, divided

6 TB melted butter
1 Cup Confectioners Sugar

Preheat your oven to 325.
Whisk flour, sugar, baking powder and salt together in large bowl.
In a separate bowl combine melted butter, ricotta, egg, vanilla, lemon zest and extract.

Toss fruit and nuts in enough flour to coat and shake out the extra flour. 
Add wet ingredients to dough. Add fruit and nuts to dough. Mix together until evenly distributed.

Turn out the dough onto lightly floured surface and knead it till it comes together. Divide in half. 
Working with one half at a time shaped dough into 8" x 7" oval that is about 1/2" thick. 

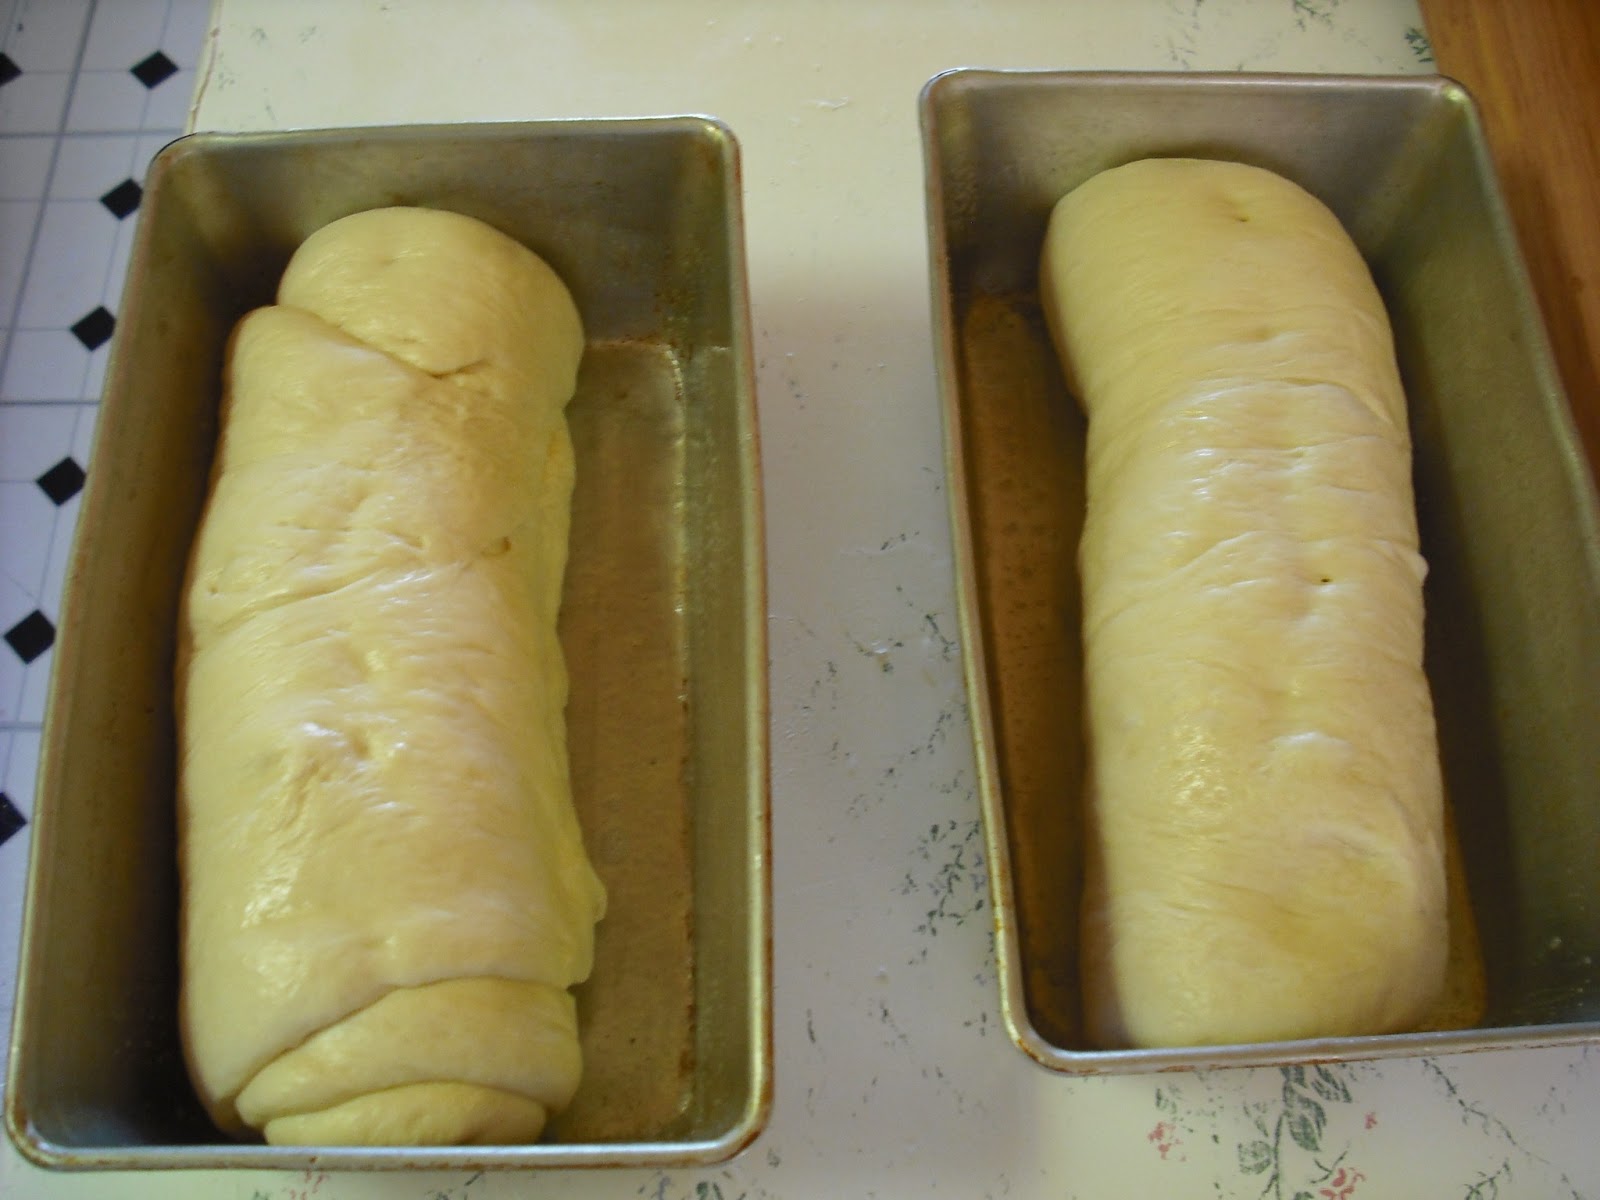
Roll 3 oz Almond Paste into a rope and lay it down the middle of the oval on the 8" length. Fold over the upper side over it and about one inch from the other side. Using the side of your hand seal the dough about 3/4" from the end that is folded. (see photo below). Repeat for the other stollen.

Place the 2 loaves on parchment lined baking sheet so that they do not touch and bake for 40-45 minutes till lightly browned and toothpick inserted in center comes out clean.

Place stollen on wire rack on baking sheet. Immediately brush with melted butter and dust heavily with confectioners sugar.  
Allow to cool a little (15 minutes) and brush again with melted butter and dust with sugar. After 15 minutes brush with butter and dust with sugar. (Don't worry about taking up some sugar on the basting brush).
And again, for the third time, brush with butter and dust with sugar. This will create a thick layer of "frosting". Allow to harden and wrap tightly in plastic.  


January 20, 2013

CHALLA BREAD

Because the use of fire is forbidden on the Sabbath in the Jewish culture, it is traditional to bake Challah on Thursday or Friday so that it is sure to be ready before sundown at the beginning of the holy day. Challah is most often braided, but it may be baked in various other shapes, even into a regular loaf in a loaf pan.
I learned how to bake Challa from my sister-in-law, Giselle way back before I was married.  It was such a wild experience.  If you haven't baked a loaf of any kind of bread yet, you are in for a real life, one-of-a-kind experience. This recipes makes one large loaf.

1-1/4 Tbsp Active Dry Yeast
3/4 Cup Warm Water
1 Tbsp Sugar
2 Tsp coarse Salt or 1 Tsp table Salt
2 Eggs, beaten lightly
2 Tbsp Vegetable Oil or Canola Oil
3-1/2 to 3-3/4 Unbleached White Flour
Glaze: 1 egg yolk mixed with 1/3 Tsp water
Poppy Seeds or Sesame Seeds

Preheat oven to 400 degrees.
Dissolve yeast in warm water in a large bowl.  When dissolved, add sugar, salt, eggs, oil  and as much flour as can be stirred into the liquid (1 Cup at a time).  
Turn out onto a floured board and knead at least 10 minutes, adding more flour as needed to make the dough smooth and elastic.  Form into a ball.  Place in an oiled bowl, cover loosely with plastic wrap or cotton dish towel and leave in a warm place away from drafts until doubled in bulk.  Punch dough down, knead in a little more flour if too moist to handle, then divide into equal pieces.  Form a braid and pinch together ends and tuck underneath.
Cover and let rise at room temperature until double in bulk.  Brush the loaf all over with egg glaze and sprinkle with poppy seeds.  Bake 30-35 minutes in the preheated oven and continue baking  minutes longer.  Cool on rack.


January 18, 2013

SIMPLE WHITE BREAD


So, if you've never baked bread.  You're in for a one-of-a-kind experience.  In the recipe for white bread below, I've tried to be as detailed as possible, hoping that anyone who has never baked a loaf will have no difficulty in doing so. My favorite Bread cookbook was given to me in 1995 by my sister, Dotty Ann.  It's the very best gift and I've really gotten into baking a lot of bread because of it.  It's called "The Book of Bread" by Judith and Evan Jones. (published in 1982 by Harper and Row) There are so many original and fabulous recipes in this book. So many breads from around the world--sweet breads, flat breads, fried breads, skillet breads, and much more! Another favorite Bread Cookbook is Peter Reinhart's "Brother Juniper's Bread Book" published by Addison-Wesley 1991. But my favorite white bread recipe is Chuck Williams' (Williams- Sonoma). Scroll down to view the recipe and directions.


This photo shows the beginning of the process.  All the ingredients are in the bowl and ready to mix.


The next photo shows the process about 5 minutes into kneading.  See how the dough is hanging onto the dough hook.That's a good sign.


The photo below shows the fully kneaded dough, formed into a tight ball and placed in oiled bowl.

.


This photo shows the dough has risen to twice its volume which took about 35 minutes. This is not the final rise!


In the photo below the dough has risen and is being rolled. Be sure to roll tightly, pressing out any air bubbles.  Next are the shaped loaves ready for first rise in the oven (the oven is not lit, just the pilot light is on to create a warm environment for rising)


As you can see from the above photo, the loaves have risen to the tops of the pans.
Here is the final result of all your efforts baked into yummy goodness.  I usually brush the tops with an egg glaze but did not this time.  I have included the egg glaze in the directions.


SIMPLE WHITE BREAD
Chuck Williams @ WILLIAMS-SONOMA
Makes 2 Loaves

2 Tsp Sugar
4 Tsp Active Dry Yeast
2-1/2 Cups Water, (100-110 degrees)divided
2 Tsp Salt
6 Cups All Purpose White Flour

Dissolve the sugar and yeast in 1/2 Cup water in the bowl of a stand mixer. Or if not using mixer, in a large bowl.  Let stand 5 minutes, till foamy, then add the remaining 2 cups of water, salt and all of the flour. Knead with the dough hook on speed 2 of a Kitchen Aid mixer for about 5 minutes.  If mixing by hand, remove dough from bowl after you have combined the ingredients and knead on the counter top until dough is smooth and tacky, but not sticky (usually 5-10 minutes)
After you've baked a few loaves, you'll get the "feel" of it. I think the first time there's a tendency not to knead enough, so keep that in mind.  You should kind of feel little bubbles popping under the surface. Anyway,when fully kneaded, form into a ball by gathering the edges and pulling them down and under and pinching where they come together at the bottom.
Again, you'll get a feel for this the more you handle dough. What you're doing is creating a "tight foundation" for the dough to rise from, otherwise it will spread out irregularly.  Place the dough ball into an oiled bowl large enough to hold it when it expands to double its size. Cover loosely with plastic wrap or a cotton dishtowel and let it rest for 30-45 minutes or until double in size. I usually turn on the light in my oven without turning on the oven itself, and let the dough rise in there.  It seems to be a perfect place without drafts and the light provides just the right amount of heat for rising.
After the dough has risen the first time, remove the covering and punch it down while still in the bowl (make a fist and push it down into the middle of the ball).  Then form into a ball again, cover and let it rest in the same bowl for 30 more minutes or till double again; it may not take that long.
Finally remove the plastic, punch it again, reform and rest in the bowl for only 10 minutes.
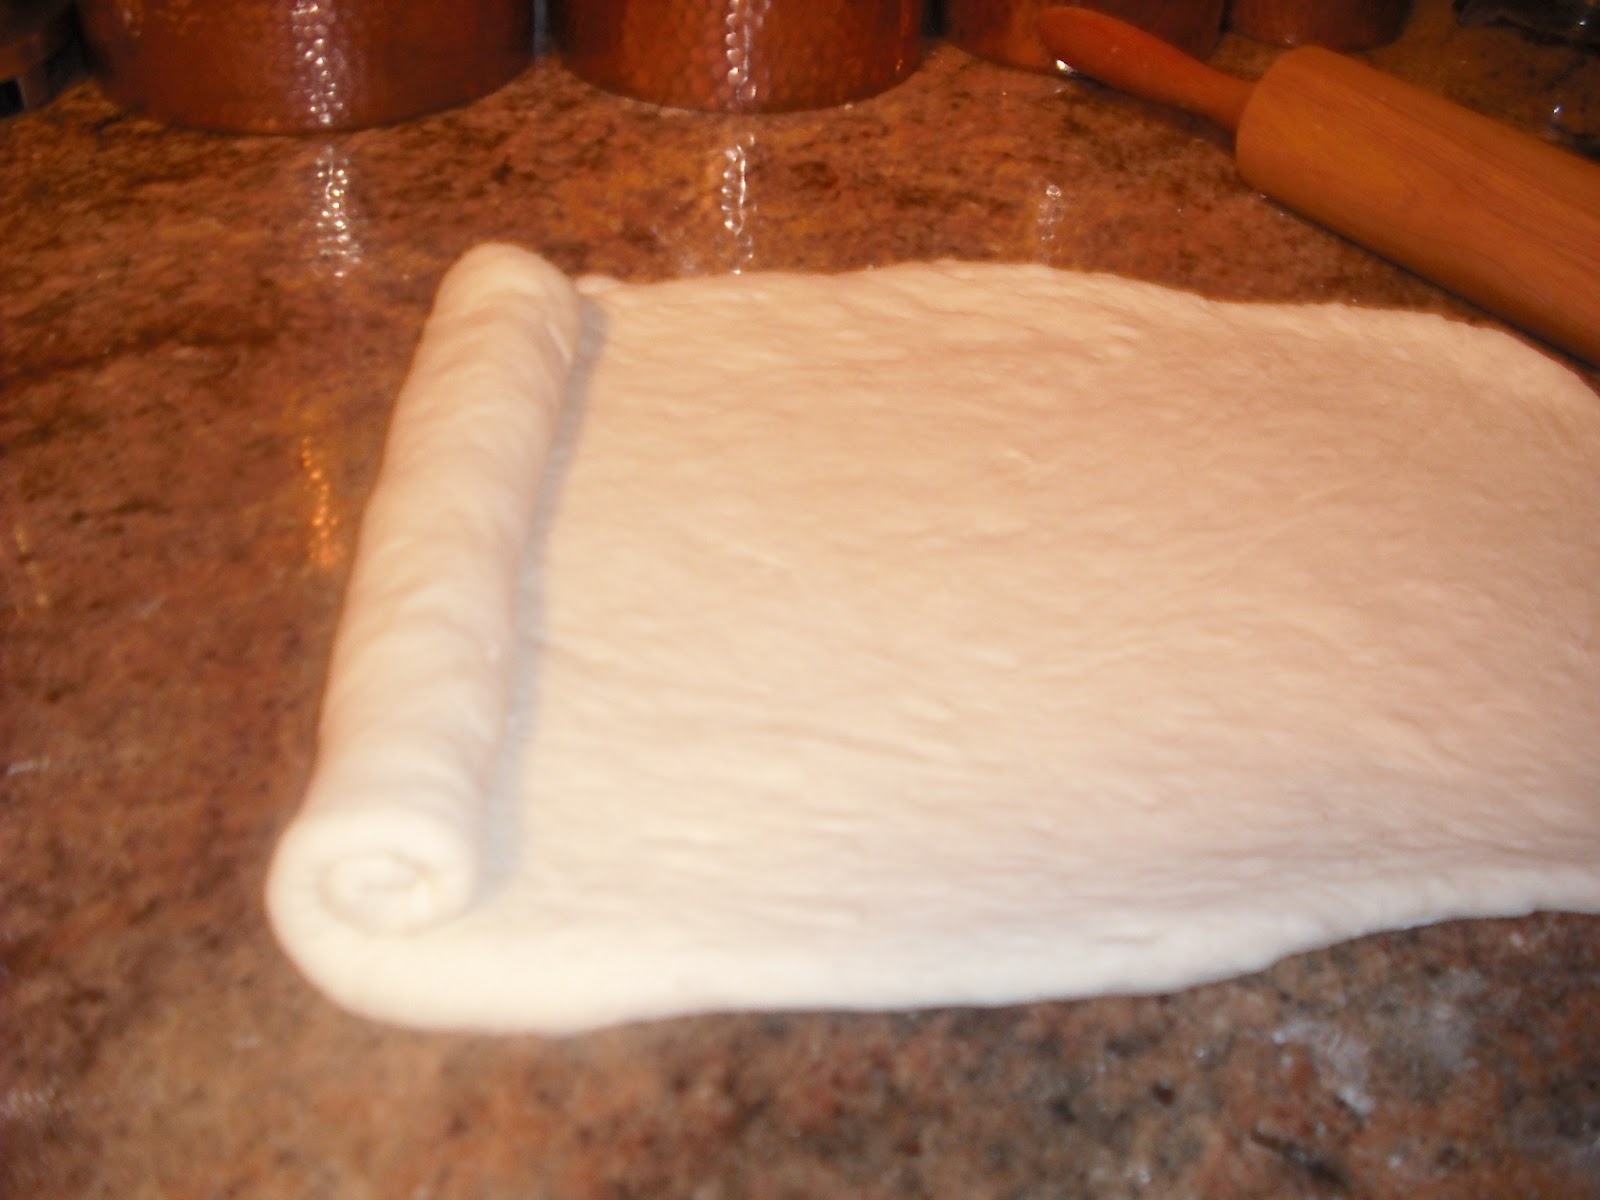
On a floured surface, divide the dough in half and working with one half at a time, using a rolling pin, roll the dough into a rectangle that measures approximately 14" x 7".  Starting with the 7" side, start rolling tightly and pressing out the air bubbles. Pinch the dough together to form a "seam" and place this side down for the bottom of the loaf.  Pinch the ends of the loaf as well, and tuck them under.
Preheat the oven to 425 degrees.
Place seam side down in an oiled 9 x 5 loaf pan.  Cover loosely with plastic and rest until doubled. Because the oven is heating, place the loaves in a draft free place for this final rise. This will take at the most 30 minutes. It's risen enough when it reaches the top of the loaf pan.  At this point you can glaze the tops by lightly beating one egg and painting the top of the loaves.
Place the loaves in the preheated oven for 15 minutes.  Then reduce the heat to 350 and bake about 15-20 minutes longer.  Check by taking the loaf out of the pan and tapping the bottom.  It should sound hollow.
Allow the bread to cool.  I know, it will be hard to wait, but you must because the bread is still cooking in a sense.  If you don't wait at least an hour all your time will have been wasted.  Be patient.  Slice or pull it apart and enjoy with butter or plain.


July 25, 2010

PARISIAN DAILY BREAD Daniel Leader's "Local Breads"


I'm always looking for new bread recipes; especially baguettes. This one takes about 4 hours from start to finish including rising and fermenting.

1-1/2 Cups Water (70-78 degrees)
1 Tsp Instant Yeast or (1-1/2 Tsp Regular Active Yeast proofed in 3 Tbsp water)
3-1/4 Cups Flour
1-1/2 Tsp Sea Salt

Pour the water into a large mixing bowl or the bowl of a stand mixer (which has been warmed by running under hot water) Add the yeast, flour and salt and stir with a rubber spatula just until all the water is absorbed and a dry, clumpy dough forms.  Cover the bowl with plastic wrap and let it stand for 20 minutes, to allow the flour to hydrate and the gluten to develop on its own.  (if using Active dry yeast, proof with 3 Tbsp of the (total)water and then add it to the rest of the water in the bowl).


Knead by hand for 10-12 minutes, adding as little flour as possible to the dough.
OR Knead in the stand mixer (Speed 2 on a Kitchen Aid) for 8-10 minutes.  It will clear the sides of the bowl, but look lumpy.  Pull it off the dough hook and knead it by hand for a few strokes on an very lightly dusted surface until it is very smooth and springy.
Transfer the dough to a lightly oiled, clear, straight-sided 2 quart container with a lid. Cover and leave to rise at room temperature (70-75degrees) for 45 minutes.  It will not double in volume, but will increase by about 25%.

After the dough has risen, give it a "turn" as follows: Lightly dust the counter with flour and empty the risen dough out of the container.  Pat it gently into a rectangle about 6 by 8 inches and fold it like a business letter: with the short side facing you, lift the top edge and fold it into the center of the rectangle; lift the near edge and fold it into the center so that it overlaps the top edge by about one inch.  Quickly slide both hands under the dough and flip it over so the folds are underneath.  Slip it back into the container, pushing it down to fit.  Cover and let stand until it expands to 1-1/2 times its volume (about 45 minutes to 1 hour).


Divide and pre-shape the dough:  Lightly dust the counter with flour.  Uncover the dough and turn it out onto the counter.  Cut into three equal pieces (10oz each).  Gently pat each piece into a rough rectangle and fold it in half.  Sprinkle the pieces of dough with flour and lightly drape them with plastic wrap and let them relax on the counter for 10 minutes.  After relaxing them,  pat each piece into a rectangle about 3 by 5 inches.


First rule:  Avoid over-handling the dough, or their air cells will burst. With the longer side facing you, fold the top of the dough down about one third of the way toward the center.  With the heel of your hand, press along the seam, using firm but gentle pressure.  Fold the bottom of the dough about one third of the way toward the center and seal the seam firmly. Fold this skinny rectangle in half by bringing the top edge down to meet the bottom edge.  Working from right to left, cup your hand over the log of dough and press the heel of your hand down firmly to seal the seam.  Dust the counter with additional flour to prevent the dough from sticking if necessary.

To stretch the log, place your hands together, palms down over the middle of the log.  Using light, even pressure, roll the log back and forth as you spread your hands apart.  Repeat three or four times until the log measures 14 inches long and 2-1/2" wide.  Leave the ends rounded. 
Lightly dust a sheet of foil large enough to hold the baguettes with flour. Place baguettes on the foil to rise for the last time.  Lightly dust the tops of the baguettes with flour and drape them with plastic wrap. Let the loaves stand at room temperature (70-75 degrees) for 30 to 40 minutes.  They will increase about 1-1/2 times their size. When your fingertip is pressed into the dough it will spring back slowly.

Score the baguettes by slashing three times at a 45 degree angle with serrated knife or razor blade 1/2" deep on each baguette. 
Meanwhile about one hour before the loaves are ready to go into the oven, place a baking stone on the middle rack of the oven and a cast iron skillet on the lower rack.  Heat the oven to 450 degrees.

When loaves are risen, slide them still on the foil, onto the hot baking stone.  Carefully place one cup of ice and water in the hot cast iron skillet to produce steam.  Bake until the baguettes are caramel colored (15 to 25 minutes).
Slide loaves still on foil, onto a wire rack and cool for about 5 minutes.  Remove foil.  Best eaten within a few hours of baking. 

June 30, 2010

OREGANATO PIZZA CRUST

OREGANATO PIZZA CRUST   
Makes 4 - 12” Pizza Crusts
Brother Juniper's Bread Book (Slow Rise as Method and Metaphor) by Peter Reinhart

2 Tbsp Active Dry Yeast 
8 Cups All Purpose Flour)          
¾ Cup Uncooked Polenta
2 Tbsp Salt
2 tsp Coarsely Cracked Black Pepper
6 Tbsp Chopped fresh Parsley    
4 Tsp Granulated Garlic
4 Tsp Dried Oregano
Approximately 2-¼ - 3 Cups Water @ 40 degrees or colder

Proof Yeast in 4 Tbsp lukewarm water in the bowl of electric mixer.  Add the dough-hook attachment.
Meanwhile, in a large bowl, combine all of the dry ingredients with a whisk.
Once the yeast is foamy (about 5 min) add the dry ingredients and all but ¼ cup of the water and with the dough hook  mix on low speed for about 1 minute--increasing to next higher speed as flour is incorporated.  Knead about 4 minutes on this speed or until the dough is elastic but firm, tacky but not sticky.  Add more water from the final cup during kneading if dough is too hard.
At this point dough may be “retarded” see below*

Form dough into a ball, add to a large bowl which has been sprayed with oil, turning the ball until all sides are covered.  Cover loosely with plastic wrap and set in a warm place for about 1-½ hours for the first rise.

After the first rise, punch the dough down well and knead for a minute till smooth.  Divide into 4 equal pieces and form into balls; cover loosely with plastic wrap and set in a warm place for about 1-½ hours

While the dough balls are rising for its second rise, preheat the oven to 500 (or the highest setting) and place a rack on the lowest position. Spray a baking sheet or metal pizza pan with oil and dust with some uncooked polenta. 

Working with one ball at a time and keeping the others under plastic wrap, using a rolling pin and your fists form into a 12” circle. Twist the edges to form a rim.

Rub or brush  or spray a little olive oil on the surface of the dough including the rim.
Top with your favorite veggies, herbs, seasonings and sauce.

Bake for 6-8 minutes without opening the oven.  Turn off the heat and leave the pizza in the oven for another 3 minutes.  Let sit at room temperature for 4 minutes before slicing.


*Method for retardation:
Before the first rise, after forming the dough into a ball, divide it into 4 pieces and form into balls.  generously spray each of the 4 balls with olive oil spray oil and place on a sheet pan lined with parchment which has been oiled.  Seal air tight in the refrigerator for up to 3 days.  Remove dough from refrigerator 2-½ hours before using.  Dust counter with flour.  Mist counter with spray oil and place ball on counter.  Then sprinkle ball with flour, dust hands with flour and press into disks (½” thick by 5” wide) and sprinkle with flour.  Mist again with spray oil.  Cover loosely with plastic and let rest for 2 hours.

February 28, 2010

BAKED BBQ PORK BUNS (CHAR SIU BAO)


OK, I hear you saying, "those yummy-looking buns will take all day in the kitchen!" But actually it will take 3 days. Hah!  You marinate on the first day, make the filling on the second day and on the third day make the dough and eat them.  A minimal amount of work on each day is all that is required.  The credit for the basic recipe is Martin Yan's. This recipe makes approximately 16 buns depending on how large you like them. 

Day 1: MARINATE PORK FOR 24 HOURS

Char Siu (BBQ Pork):
2# Pork Tenderloin, trimmed of silver and fat
Salt and Sugar (to taste) (I use 1Tsp Salt to 1 Tbsp Sugar)
**********************************************************************
Cut meat into strips approximately 1-1/2" in diameter and 2" long.  Sprinkle with about 1 tsp salt and 1 Tbsp sugar, combine and let set several hours in the refrigerator.

MARINADE FOR PORK:
1/2 Cup Ketchup
2 Tbsp Sugar
1 Tsp Hoisin Sauce
1 Tbsp Sesame Oil
1 Tbsp Sherry
1 Tsp 5 Spice Powder
1 Clove Garlic, minced
1/2 Tsp Fish Sauce
1/4 Tsp Baking Soda
1 Tsp Salt
Drain any excess juices from pork. Combine the marinade ingredients in a medium bowl and whisk together well. Pour over meat and marinate 24 hours, turning several times to coat all sides. Refrigerate overnight.

Day 2: Bake the pork and Make the Sauce and Filling


Remove pork from marinade and Preheat oven to 350.
Place pieces on a lightly sprayed rack on a shallow baking sheet pan. (It would be prudent to line your baking sheet with foil for easy clean-up. (unfortunately I learned this the hard way and had to trash my hopelessly charred sheet pan) and bake for 30 minutes. Turn meat, baste with marinade and bake 30 minutes more.  Cool.  
Chop into large mince.Use 2 cups of the pork mince to make the filling. You may have some leftover. 

SAUCE:
While the pork is in the oven, mix the following ingredients which will be the sauce for the filling:
2 Tbsp Plus 2 Tsp Oyster Sauce
1 Tbsp Soy Sauce (low sodium)
2 Tbsp Plus 2 Tsp Ketchup
2 Tbsp Sugar
3/4 Cup Chicken Broth (low sodium)
2 Tsp sesame oil

FILLING:
2 Cups Pork mince, (from the recipe above)
1-1/3 Cup minced onions
1 Tbsp Plus 1 Tsp Dry Sherry
Sauce Recipe (from the recipe above)

Add 2 Tbsp Canola oil to a large skillet. When hot, add onions and cook on LOW heat until just starting to brown. Add pork mince.   Raise heat to medium-high and cook till pork is heated through--about 2 minutes at most. Reduce heat to very low and add Sherry and cook another minute. Add all of the sauce recipe and cook until thick and bubbly (about 4-5 minutes). Cool to room temperature and refrigerate overnight. Bring to room temperature before filling buns.


Day 3: Make the dough and bake the buns 


DOUGH:
1 Cup Milk (either skim, low fat or regular)
1/4 Cup Butter
1 Egg, lightly beaten
1/2 Cup Water (110 degrees)
2-1/4 Tsp Active Dry Yeast
2 Tbsp Sugar
4-1/2 Cups All purpose flour
1-1/2 Tsp Salt

1 egg, lightly beaten for brushing tops


Heat milk and  butter to 120 degrees. Cool to room temperature. 
Add slightly beaten egg to milk and butter and set aside
In a large bowl, combine yeast with sugar and 110 degree water.
Set aside until foamy. (about 5 minutes)
In another bowl, measure flour and whisk together with salt.

When yeast is ready, add the milk-butter-egg mixture and  stir to combine. Start adding flour 1/2 cup at a time incorporating it well. When able to handle dough, knead on a lightly floured surface for 5-8 minutes or until it is smooth and tacky--but not sticky. Remember the more flour you add, the heavier the bread will be....so just add it a little at a time when kneading.

Place the dough ball into a sprayed bowl and turn to coat; let rise 30-35 minutes.
When dough is risen, divide in half and return half to the oiled bowl, covered with a damp cloth. Divide the other half into 8 equal pieces.  

Form each piece into a ball then  flatten into a circle with the outside being thinner, make a "well" with your thumb, and add about 1 level tablespoon of filling or a little less and wrap the dough over, pinching at the bottom. to form a sealed ball. Repeat with the other half. Placing each bun (seam side down) on parchment covered baking sheet. Cover with lightly sprayed plastic wrap and let rise about 15-30 minutes or until they are puffy and have increased in size by half.

Preheat oven to 350F.  Brush with lightly beaten egg. Bake for about 20 minutes or until they are golden and shiny. They'll rise in the oven to about 1-1/2 times their unbaked size. The buns are out-of-this world when served warm from the oven, but room temperature works too. They can be re-heated in a warm oven for a few minutes.

FLATBREAD


Here's another easy bread that is great for dipping into hummus or any meal that has some delicious sauce or juice to sop up. Or as we southern Italians like to say "bread to boon with". Booning is sopping! THis recipe makes about 15 - 6-8" flatbreads.

1 cup tepid water (70-78 degrees)
4 tsp active dry yeast
4 Tbsp canola oil
3 cups plus 4 Tbsp Flour
1-½ tsp sea salt or kosher salt

Pour water into a large mixing bowl and add yeast and a pinch of sugar and wait till foamy.
Meanwhile, in another medium-size bowl, measure flour and salt and whisk till combined.

When yeast is foamy, add oil and flour/salt mixture and mix just long enough to form a loose dough.
Knead for 4 minutes on a lightly floured surface until smooth and elastic and form into a ball.
Lightly grease a large bowl and turn the dough into it to grease the top, then turn over to rise covered with plastic till one-and-a-half times the volume has been reached (about 1 hour).

Turn risen dough out on to a lightly floured work surface and divide into 16 equal pieces. Sprinkle with a little flour, cover lightly with plastic and rest for 30 minutes.

On a lightly floured surface, using a rolling pin, shape each piece into a 9” oblong.
Spray a large nonstick sauté pan with spray oil and heat over medium heat till hot, but not smoking.

Cook first side about 3 minutes. (flatbread should have blisters and be lightly browned).
With tongs, turn and cook the other side for about 2-3 minutes or till blistered and brown.


To store: wrap leftover COOKED flatbreads individually in plastic wrap and then in a freezer grade plastic bag and freeze up to 2 weeks. Heat in toaster oven about 2 minutes on 350 to warm. 

PITA BREAD


Here's a quick little recipe for pita bread. No, it doesn't look like the kind you get at the market. It's more like those new flat breads that all the big bakeries are making now. It's easier to make this by hand rather than a stand mixer because I find it takes more flour in the mixer, which makes for a heavier rather than light bread. I filled this one with ham and cheese and red onions and arugula tossed with a teeny bit of olive oil and red pepper flakes.. This recipe makes about 6-4"breads.

2 Tsp active dry yeast
1 Cup warm water (100 degrees)
1 Pinch of sugar
2-1/4 Cups all purpose or bread flour, plus a little more for kneading
1 Tsp salt
2 Tbsp Canola oil

In a small bowl, mix yeast, water and sugar and set aside till foamy.
In a large mixing bowl, add the flour and salt and whisk together.
Add the oil and the yeast mixture and mix till combined.
Turn the (sticky) dough out onto a lightly floured surface and knead in small amounts of additional flour (a tablespoon at a time) until the dough is smooth and tacky, but not sticky. I use the implement in the photo below (can't think of what it's called)to knead it for the first few minutes as the dough is quite sticky.
Keep the surface floured. Knead about 5-8 minutes. Let it rest while you grease a baking sheet.
Divide dough into six equal pieces (or if you prefer thicker pita, then divide into 5 pieces)

Roll each portion into a ball and place on the baking sheet covered with plastic wrap and let rise for about an hour or until they've about doubled in size. (I usually rise bread in the oven with the oven light on; it seems to be just the right warmth needed for rising in my kitchen)

Preheat the oven to 450. (If you're rising in the oven remember to remove the rising dough balls before turning on the oven for preheat)

Without removing the dough balls from the baking sheet, flour your fingers lightly and flatten them by pressing them out from the center to your desired thinness.

Bake for 12 minutes (check after 10 minutes) until they've puffed and turned golden on top.When ready to eat, slice them in half and then carefully open each half with a small knife to insert filling.